
Windows 10: Disable persistent WiFi Auto-connect
I had an issue where WiFi auto-connect could not be disabled for a corporate WPA2-E network ("Connect automatically when in range" setting was not persisted). This can be an issue if you want to minimize your exposure to WiFi phishing attacks a-la WiFi Pineapple. Searching around I found a way that seems to let me disable the auto-connect.
References
- How to copy WLAN profiles [ghacks.net]
- netsh wlan add profile not importing encrypted passphrase [superuser.com]
- Process Monitor
Problem
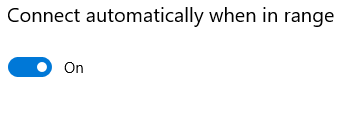
On certain Wireless networks in Windows 10 I am unable to disable the option to connect automatically. The selector shows up as an interactive component, yet when I slide it to 'Off' and reload the Settings page the configuration does not persist:
What's odd is that this issue only impacts the 'corporate managed' wifi profile on my laptop. Other WLAN profiles that I add are not impacted(?)
Where are the Settings Stored?
I whipped out ProcMon to try and find where the settings get saved only to find that I could not profile the corporate WiFi network using the tool. Profiling a non-corporate WiFi network I found that the auto-reconnect setting is stored in this registry location: HKLM\SOFTWARE\Microsoft\WcmSvc\CMPOL:
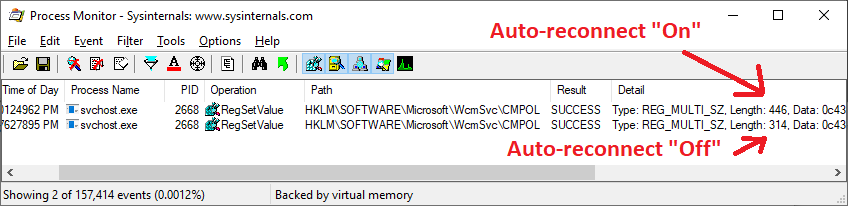
- The first entry is Enabling auto-connect (which shows a larger payload size)
- Second entry is Disabling auto-connect (which decreases the payload size written to the reg location)
With the short amount of time I have available for analysis right now I wasn't able to parse the values and figure out what to manually set the registry value to, so I continued my search for a way to disable this setting.
Solution: Export, Modify and Re-import
Using the netsh command line tool, I was able to export my corporate wifi profile and a separate profile where I was able to successfully disable the auto-reconnect. Comparing the 2 I discovered that I needed to add this entry to the corporate WLAN XML document to enable 'disallow' functionality:
<connectionMode>manual</connectionMode>
Here's what a (redacted) corporate profile should look like if this XML configuration is properly applied:

Steps to perform this modification:
- Open a Windows command prompt
- Run:
netsh wlan show profiles- Identify which network you want to modify
- Export the profile with:
netsh wlan export profile name="unauthorizedaccessprohibited" folder=.- This exports the profile in XML format to your current directory
- Using an editor, add the
connectionModeXML line indicated above in a way that matches the placement in the image above - Save your modified XML
- Re-import over the top of your existing profile like this:
netsh wlan add profile filename="C:\Users\username\path\to\profiles\Wi-Fi-unauthorizedaccessprohibited.xml"
At this point you should be able to disable the auto-connect functionality:
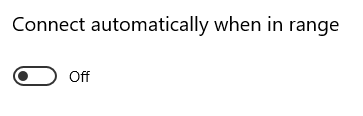 In my case: Success!