
Recovering from a botched attempt at a side by side encrypted Ubuntu installation
I found some time this week to upgrade my laptop to Ubuntu 18.04 (from 16.04). To ensure I could still 'go back' if necessary I went down the path of installing a second hard drive to setup a dual-boot configuration. There's only one problem with this approach: the Ubuntu 18.04 GUI installer doesn't give users the ability to setup a second encrypted ubuntu installation side-by-side with an existing one, even if the target is a new disk.
This set me down a path of adventure and discovery!
References
- How can I install Ubuntu encrypted with LUKS with dual-boot? [askubuntu.com]
- A start job is running for dev-disk by \x2duuid : error take 1min 30s to boot Debian [unix.stackexchange.com]
- Slow boot - “a start job is running for dev-disk-by…” [askubuntu.com]
- How do I find the UUID of a filesystem [serverfault.com]
- LUKS on Ubuntu 16.04 : unknown filesystem type 'crypto_LUKS' [superuser.com]
Initial Investigation
Ubuntu 18.04 was installed (unencrypted) to the new volume for testing purposes to ensure that my hardware would support it properly (HP ZBook G3). All seemed to go well during testing so I tried to reboot into 16.04 and found that it would not boot (even if I selected the Ubuntu 16.04 disk in the system BIOS startup boot order. No matter what I tried it would keep booting me to 18.04's grub menu where there was no entry to boot 16.04 from the other disk.
Fortunately for me the data on the original disk was not deleted. Seems like the data is all there and that this new 18.04 installation has coopted the boot up process somehow.
Full Steam LUKS
As my goal is to run Ubuntu 18.04 full-time anyway I set down the path of getting a full-disk encrypted install working on my second drive. After much scouring of search engine results I found this wonderful guide by unhammer on askubuntu.com for how to do a side-by-side encrypted install of Ubuntu. Following their directions I was able to get full-disk encryption working for 18.04 on my second hard drive. Here are the highlights (abbreviated, see link for details) Note: This gets wordy and is pretty terse:
-
When booting from the LiveCD, select 'Try Ubuntu' (without directly going to the installer)
-
Use GParted to create 2 partitions on the new disk
- One (Larger) partition as unformatted with enough space for root and swap
- One smaller partition (1GB) formatted as ext2 or ext3 for a /boot volume
-
Create a LUKS container with the unformatted partition
sudo cryptsetup luksFormat /dev/nvme0n1p2 sudo cryptsetup luksOpen /dev/nvme0n1p2 ubuntu18 -
Within the LUKS container create an LVM physical volume, volume group and 2 logical volumes (for root and swap)
sudo pvcreate /dev/mapper/ubuntu18 sudo vgcreate vgubuntu18 /dev/mapper/ubuntu18 sudo lvcreate -n lvubuntu18root -L 210g vgubuntu18 # For root sudo lvcreate -n lvubuntu18swap -L 16g vgubuntu18 # For Swap -
Create filesystems for the 2 logical volumes
- sudo mkfs.ext4 /dev/mapper/vgubuntu18-lvubuntu18root
- sudo mkswap /dev/mapper/vgubuntu18-lvubuntu18swap
-
Install Ubuntu 18.04 by using the shortcut on the desktop. Note that it is VITALLY Important that you DO NOT restart here. The installer must be started from within the 'Try Ubuntu' boot mode of the LiveCD
- Assign root / to /dev/mapper/vgubuntu18-lvubuntu18root
- Assign /boot to the unencrypted partition from step 2
- Note: If presented with an option to pick dm-0 or something else, stick with dm-0 (at least it worked for me!)
-
After the installation completes select Continue Testing and open a shell/terminal
-
Mount the devices to locations in /mnt and chroot into it
sudo mount /dev/mapper/vgubuntu18-lvubuntu18root /mnt sudo mount /dev/nvme0n1p1 /mnt/boot sudo mount --bind /dev /mnt/dev sudo chroot /mnt > mount -t proc proc /proc > mount -t sysfs sys /sys > mount -t devpts devpts /dev/pts -
(Outside the CHROOT) Get the UUID of the LUKS partitions:
sudo blkid /dev/nvme0n1p1 # Or whichever name your partition is called /dev/nvme0n1p1: UUID="994ac23a-6a33-4db3-87ce-6b832fbd93b5f" TYPE="crypto_LUKS" -
(Within the CHROOT) Create a file named
/etc/crypttabthat looks like this (replacing your volume and volume group respectively) and including the UUID of the LUKS partition:# <target name> <source device> <key file> <options> ubuntu18 UUID=994ac23a-6a33-4db3-87ce-6b832fbd93b5f none luks,retry=1,lvm=vgubuntu18 -
(Within the CHROOT) Run this command:
update-initramfs -k all -c -
Reboot the system and boot into the encrypted Ubuntu installation. You should be prompted for your LUKS decryption password
Adding the Old Installation to Grub
Now that I can consistently and reliably boot an encrypted 18.04 installation on my second internal hard drive the next is to get a grub bootloader entry for my old 16.04 installation. This proved to be fairly simple once I understood a few things:
- os-prober does not detect ubuntu installations on LUKS encrypted volumes
- In order to update grub I need to mount my old LUKS encrypted 16.04 installation
- Running
update-grubadds entries for all detected Ubuntu installations to grub (only works on decrypted volumes)
With this in mind, I performed the following steps to get a grub boot entry for my old installation:
# First, decrypt my old volume (enter passphrase where prompted)
sudo cryptsetup open /dev/sda3 ubuntu16
# Next, mount the old volume group
sudo mkdir -p /mnt/oldubuntu
sudo mount /dev/mapper/ubuntu--vg-root /mnt/oldubuntu
# Finally, run grub-update to add a grub boot entry for the old installation
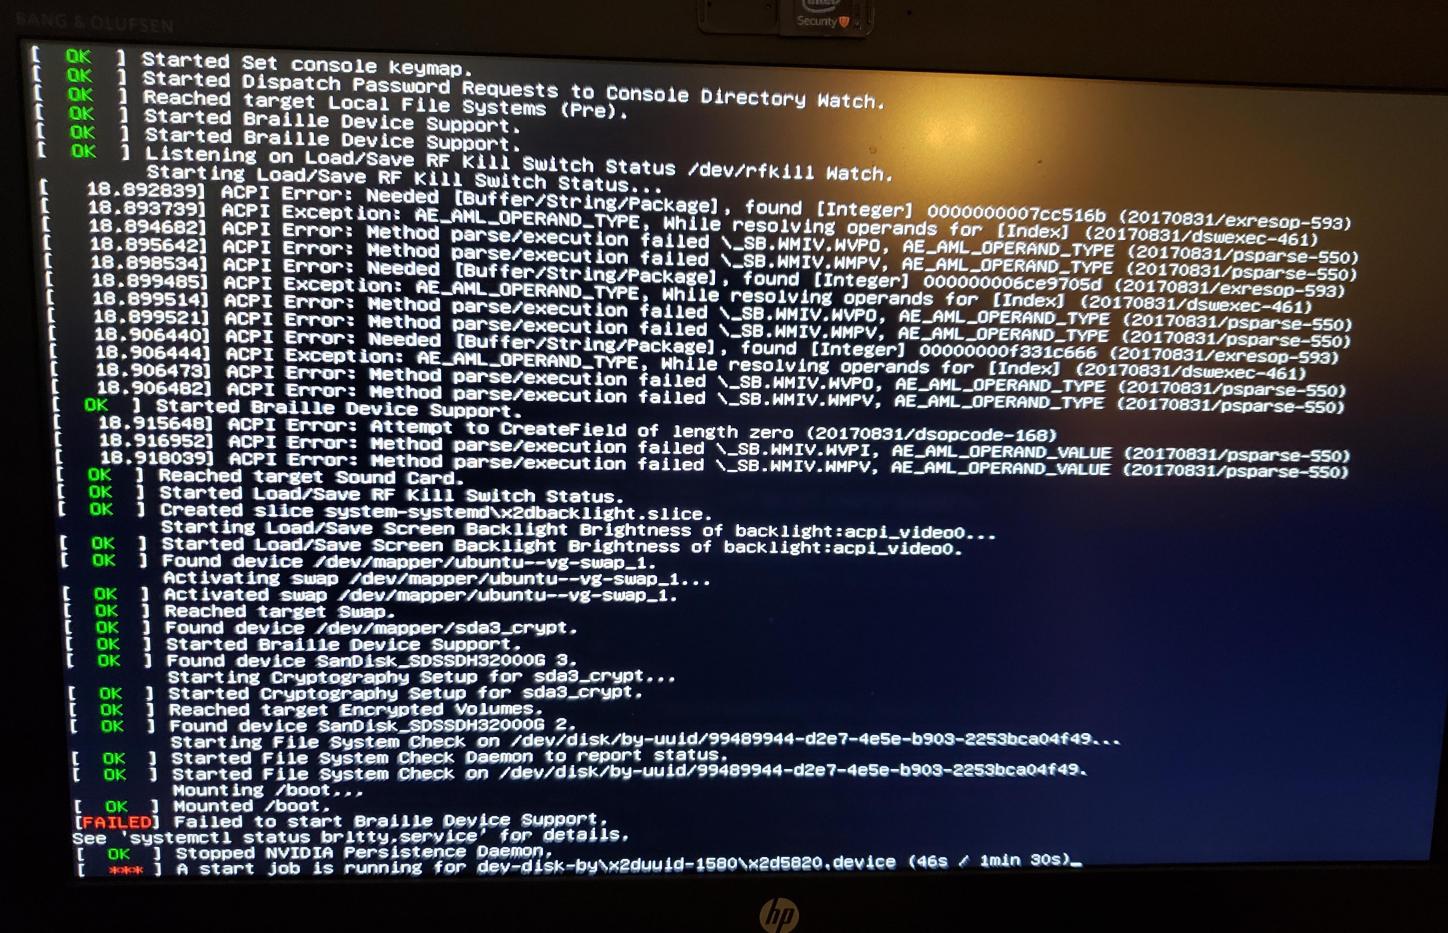
sudo update-grubNow I can boot to Ubuntu 16.04. But things are not quite working right yet. I get a message about A start job is running for dev-disk-by\x2duuid-1580\x2d5820.device (46s / 1min 30s) and get dropped to the Emergency shell:
Fixing /etc/fstab To Let Old Ubuntu Installation Boot
The final thing to fix is the start job is running for dev-disk-by\x2duuid-1580\x2d5820.device message which can be fixed by modifying /etc/fstab on the old ubuntu installation to point to the correct value (which in my case is the entry from the Ubuntu 18.04 install's fstab file.
Here's the old install's fixed fstab with comments:
# /etc/fstab: static file system information.
#
# Use 'blkid' to print the universally unique identifier for a
# device; this may be used with UUID= as a more robust way to name devices
# that works even if disks are added and removed. See fstab(5).
#
# <file system> <mount point>   <type>  <options>       <dump>  <pass>
/dev/mapper/ubuntu--vg-root /               ext4    errors=remount-ro 0       1
# /boot was on /dev/sda2 during installation
UUID=99489944-d2e7-4e5e-b903-2253bca04f49 /boot           ext2    defaults        0       2
# /boot/efi was on /dev/nvme0n1p2 during installation

#
# Retrieved from the ubuntu 18.04's /etc/fstab file
UUID=046A-BA59  /boot/efi       vfat    umask=0077      0       1

#
# Original entry as added by update-grub after cryptsetup open and mount u16
#UUID=1580-5820  /boot/efi       vfat    umask=0077      0       1
/dev/mapper/ubuntu--vg-swap_1 none            swap    sw              0       0
After applying the fix for the new /boot/efi location I'm able to successfully dual-boot 2 encrypted Ubuntu installations on 2 different internal hard drives from my laptop. Now I can work out the rest of the software migration!